
How to Get the Best Photos on Your Wedding Day
Obviously, photography on your wedding day depends a lot on who you choose to capture your day (and I hope you choose me!) But there are many ways that you, as a couple planning your wedding, can maximize the photo opportunities and make the most of all situations to get the best images possible on your wedding day. Here are my tips coming from my experience as a wedding professional.
Details:
Usually, details are done at the very beginning of the day, when your photographers arrive. These include things like: the dress, tie, bouquet or other flowers, shoes, jewelry, cufflinks, cologne/perfume, invitations or paper goods, any accessories that may be important to you, etc. Some photographers (myself included) do the ring shots at this time as well. So here are my tips:
Have everything together, in a bag, ready to go. If you are getting ready separate from your partner, have one bag for you (that stays with you), and one for them (that is with them). In each bag, have all of the details that you are wanting to be photographed.
Bring your invitation, save the date, or other paper goods if you want those photographed as part of your details. They make great backgrounds/textures in the images, and you probably spent a lot of time and money on them.
Ask your florist for some spare flower clippings that they used in your bouquet or at your wedding venue. The photographer can take these and include them in their styling of your details, and it includes your flowers in the spread of images from the day. Alternatively, have your bouquet/boutonnieres ready at the time of detail photos, so your photographer can incorporate them.

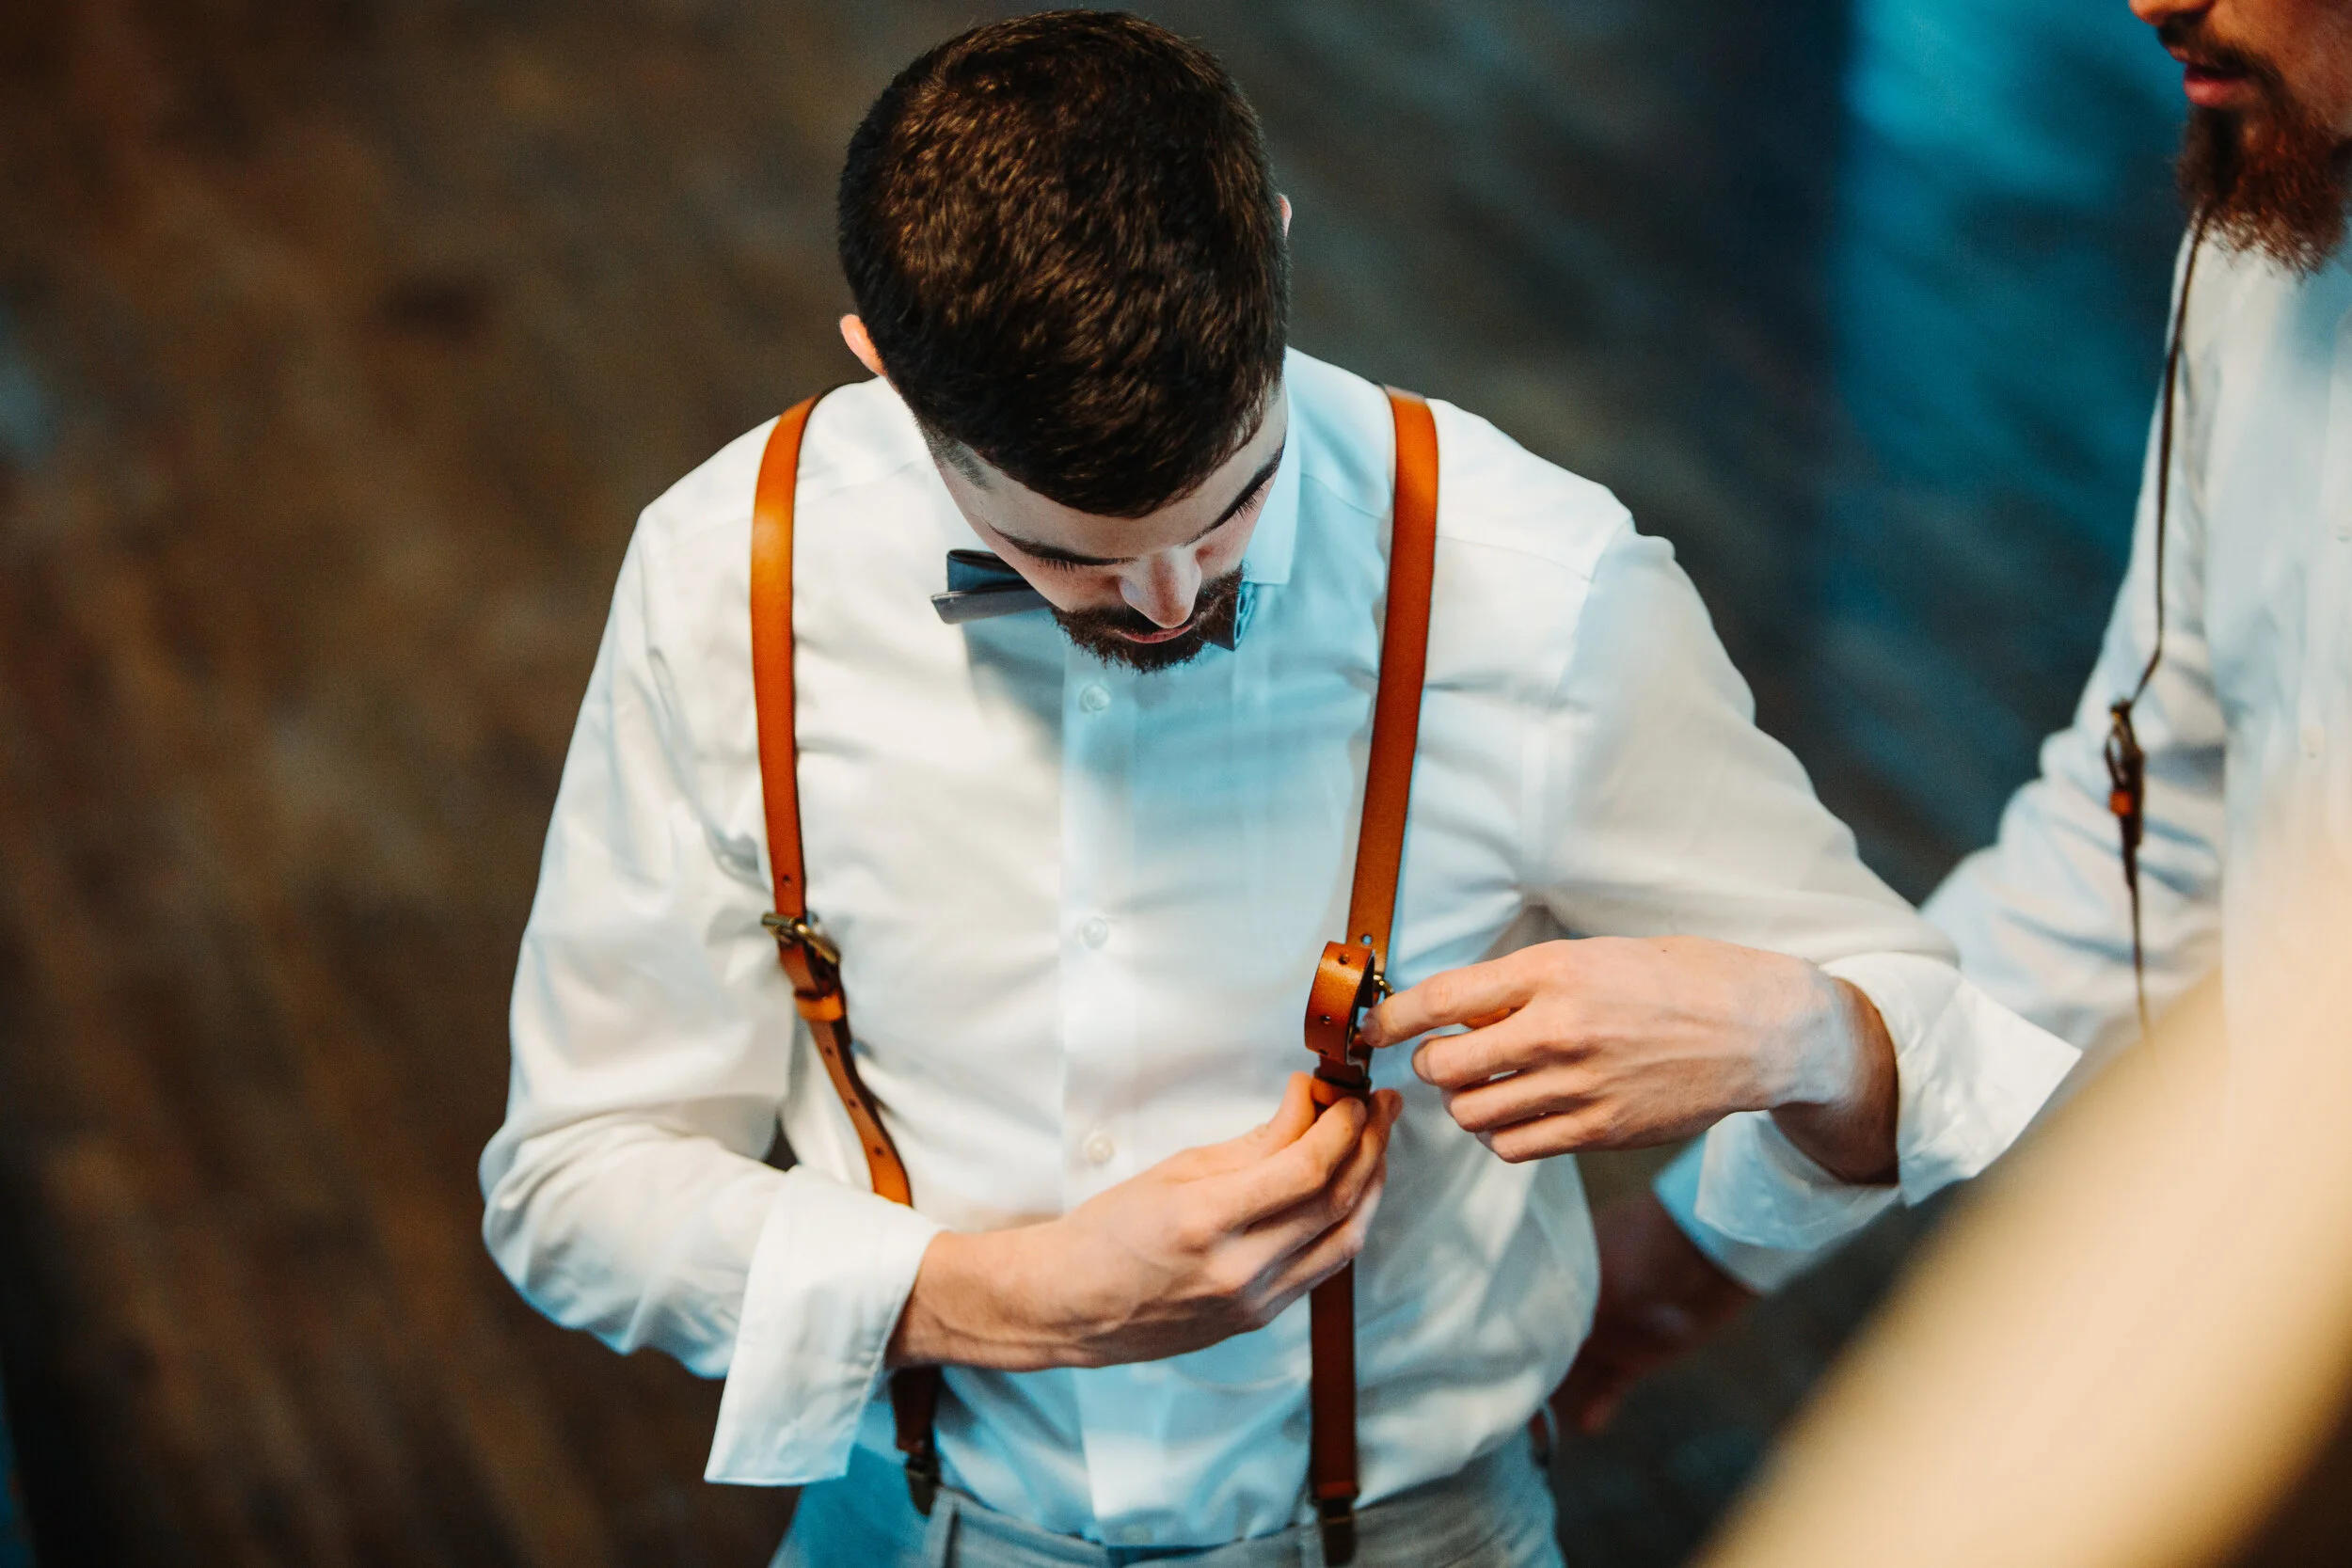
Getting Ready:
Look at the venue area that you will be getting ready in, or ask your venue if they have a designated space. If they do not provide a getting ready space, you may wish to rent a hotel or an Airbnb nearby. I suggest somewhere with some natural light throughout so that your photographer isn’t bringing in flash for these. This is usually one of the most stressful parts of the day, so simplifying is better.
For dresses: get a pretty hanger. Your dress will most likely be photographed while hanging up and when you put it on. I always bring extra hangers for this reason, but if you want to make it more your own, grab one from Etsy or your bridal shop. Simple wooden or white hangers make a huge difference from plastic.
Some things to bring: mints, chapstick, cologne/perfume, deodorant, makeup touch-ups (always bring a spare lip color), Ibuprofen/Tylenol or Imodium, a crotchet hook for tricky dress buttons, shoe inserts to prevent blisters (or bandaids!), a lint roller, fashion tape, and alcohol (ha!). I keep all of this (and more!) in my kit that I bring to all weddings, just in case you need it.
If you’re doing a pocket square, practice beforehand unless you’re already confident with them. I can’t tell you how many times I’ve watched panicked grooms YouTube a video on how to fold a square, only to just get frustrated and stuff it haphazardly (the directions they come with are usually garbage!) If you’re doing a boutonniere, decide where you’d like to place it. If you can’t pin it, don’t worry, my second shooters and I are all expert boutonniere pinners (and I keep extra pins in case).
Ceremony: The biggest part of getting your ceremony to look the best in photos is to be aware of the light. If it is summer and you are doing a wedding in the middle of the day when the sun is at its highest point, you can end up with some harsh shadows on your faces, or squinting eyes all around. Here are some tips for planning this part of your day.
If you have enough time to plan, try to visit your venue around the season that you are planning for, and around the time of day. This will allow you to see firsthand how light shines on the area.
If you can’t actually visit the venue at the right season/time of day, ask your venue coordinator! They will usually have an idea of where the sun will be, depending on the time of year and time of day. You can also look at photos of the ceremony site to see what it looks like in different lighting.
If neither of these options works, there’s also a cool app called Sun Seeker. It’s $9.99, but it’ll help you locate where the sun will be at different dates and times, and it uses your camera to actually calculate what’s in front of you!
Basically, what you are looking for is to have the sun be in a position where you won’t be squinting into it. If it’s behind you or to the side, that’s usually the best solution. Any time that the sun is directly above you, you may get harsh shadows, but most photographers can account for that. If you are squinting though, that’s just how the photos will look, since that can’t be edited out.
For indoor ceremonies, colored uplighting can be very cool for receptions, but I personally prefer it be turned off for the ceremony. Dancing photos look dynamic with some additional color and light, but usually, for a ceremony, it makes your skin/images appear to have a slight tint, which isn’t always how you want to remember your day.

Reception:
Find a photographer who knows how to use off-camera flash (OCF)! Some natural light photographers are great, but what if the light runs out or you have a really dark venue? You’ll want someone who has knowledge of lighting and brings the right equipment to make sure your wedding looks the best possible in any situation. (PS: I always bring this equipment and have special training in OCF).
Twinkle lights/additional lighting looks great at a reception! In the photo below, the twinkle lights in the venue provide depth to the image and that nice “bokeh” effect.
DJ lighting can be fun when the party gets started, but for your special dances (first dance, parent dances, etc), I usually suggest the DJ turn off all extra lighting unless it’s white light. Pops of color are fun on a bangin’ dancefloor, but most people don’t want red or blue dots on their faces when they’re having a special moment with their family or new partner.
Let’s talk risers- some venues have the head table up on a stage or risers, lifting them above everyone else who is seated. While this may seem like a great idea so you can see everyone, the truth about what it does for photos is this: it makes your photographer shoot from below you, which isn’t always the most flattering angle. Thankfully, not many photos are taken while you’re actually at the head table (you’ll be walking around/mingling/dancing more than anything), but those photos at the head table during toasts/speeches or special kisses can be really valuable. If you’re at all concerned about a double chin or unflattering angels, I highly suggest against putting your head table on risers.

Portraits:
The main thing to consider with couples portraits is to give it enough time! So many times, the thing that gets cut back with wedding day timelines is the time for couple portraits. These are the images that you’re going to want to hang on your wall for years to come, to allow the time for your photographer to capture them. Ideally, anywhere from 30-60 minutes is ideal for portraits to be sure we are able to capture you and your partner at your best.
Sunset portraits are gorgeous! See if you can carve out some time in your wedding day to grab photos during what is called “golden hour”, the hour before the sun sets (a great app to calculate the timing of this is called Golden Hour). It seems a lot of the time, this is happening at the tail end of dinner, so see if you, your partner and photographer can eat first, so when you’re finished eating, you can sneak outside to grab some beautiful portraits while the rest of your guests are eating.
One more thing about portraits: trust your photographer and have an open mind! We have a vision, and you’ve chosen us for a reason. Obviously, let us know what ideas you have! But also let us work our magic, and we’ll be so happy, and so will you.

Well, there you have it! My main tips for capturing the best images on your wedding day. Let me know if you followed any of these tips or have any other suggestions in the comments below!
And if you’re one of my couples, I absolutely can’t wait to work with you, and I’m so excited to make magic on your special day!
-Brittany